This article shows you the way to deploy an app generated by Amplication to DigitalOcean. Amplication provides the dockerfile to use containers for deployment, but this blog explains how to do it manually. I will guide you step by step to deploy Nestjs app and Postgres database with DOCKER, NGINX and PM2.
1. Sign up a Digital Ocean account
- Visit digitalocean.com and create an account
- If you are a student, go to https://education.github.com/pack/offers to get 100$ offer
- Add your credit card to start using awesome services
2. Create a droplet
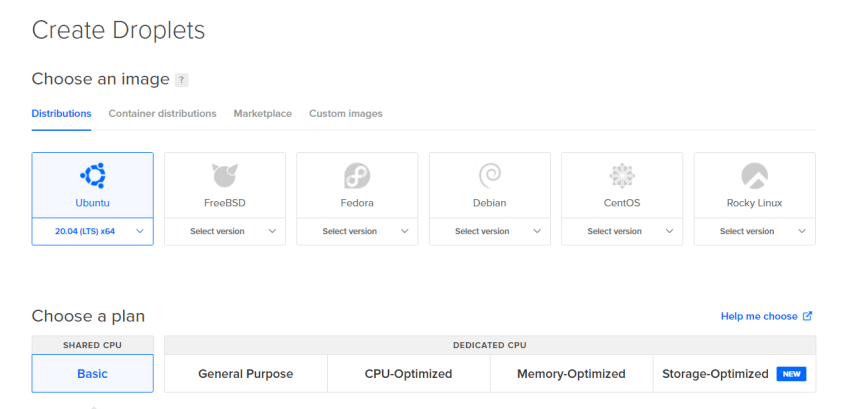
- Click on "Create" button and select create droplet
- Config your droplet (CPU, region, ssh,...)

- Waiting for your machine initialization

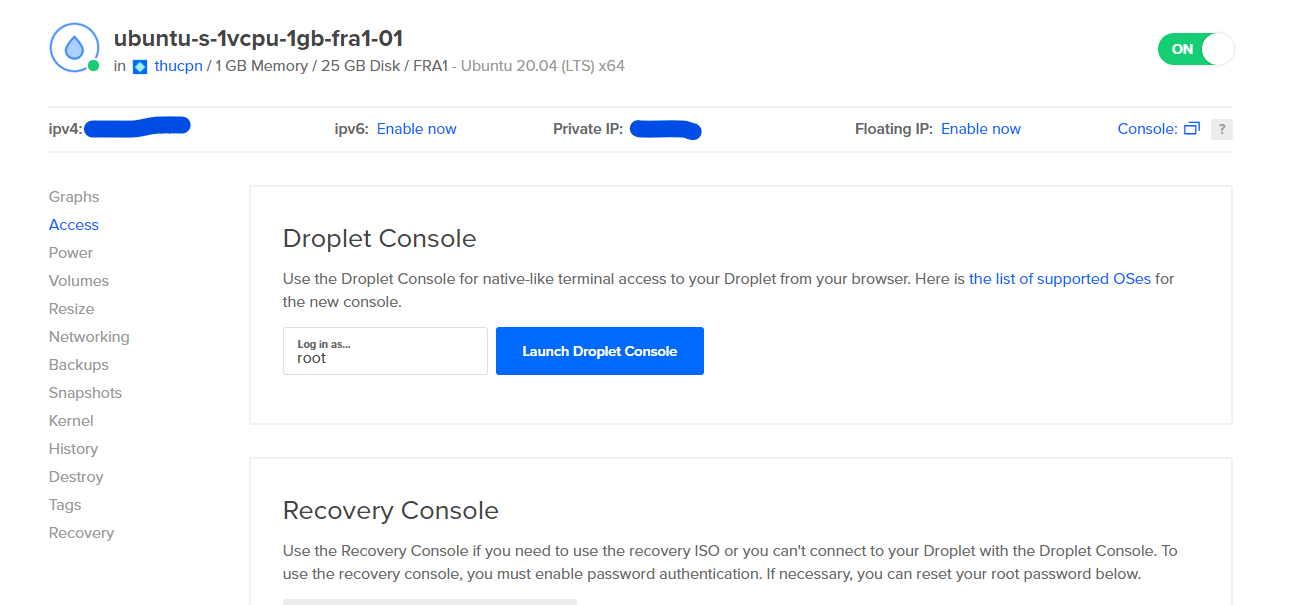
- After finish loading, go to tab "Access", you will see a button to load the console.

3. Install Nodejs, NPM
sudo apt update
sudo apt install nodejs
sudo apt install npm
4. Install Docker
- Install HTTPS packages:
sudo apt install apt-transport-https ca-certificates curl software-properties-common
- Add the GPG key to your system:
curl -fsSL https://download.docker.com/linux/ubuntu/gpg | sudo apt-key add -
- Add repository to APT sources:
sudo add-apt-repository "deb [arch=amd64] https://download.docker.com/linux/ubuntu bionic stable"
- Install Docker:
sudo apt install docker-ce
- Finally, Install Docker Compose:
sudo curl -L https://github.com/docker/compose/releases/download/1.21.2/docker-compose-`uname -s`-`uname -m` -o /usr/local/bin/docker-compose
sudo chmod +x /usr/local/bin/docker-compose
5. Clone project from your git repository
git clone https://github.com/<username>/<repo-name>.git
If you don't see your code, please checkout this document on how to sync your code from Amplication to GitHub https://docs.amplication.com/docs/sync-with-github You can also use my repo for testing: https://github.com/thucpn/amplication-server-demo-deploy
6. Install dependencies and initialize database
- Go to server folder and install dependencies
cd <your-repo>/server
npm install
- Generate Prisma client
npm run prisma:generate
- Start database in Docker
npm run docker:db
- Initiate the database
npm run db:init
- Start the server
npm start
Go to
<droplet-ip-address>:3000(example: 159.65.6.71:3000), you will see the response from server.
7. Setup PM2 to manage process
- Install PM2
sudo npm i pm2 -g
- Create an app
pm2 start dist/main.js --name myserver
Your app is now running!

- View logs of app
pm2 logs myserver
8. Setup ufw firewall
sudo ufw enable
sudo ufw status
sudo ufw allow ssh
sudo ufw allow http
sudo ufw allow https
9. Setup NGINX as a reverse proxy
- Install nginx
sudo apt install nginx
- Open config file
sudo nano /etc/nginx/sites-available/default
- Add the following to location block
location / { proxy_pass http://localhost:3000; proxy_http_version 1.1; proxy_set_header Upgrade $http_upgrade; proxy_set_header Connection 'upgrade'; proxy_set_header Host $host; proxy_cache_bypass $http_upgrade; }
- Check NGINX config correctly
sudo nginx -t
- Restart NGINX
sudo service nginx restart
Visit
<droplet-ip-address>(example: 159.65.6.71), you will see app running without port. That's awesome!
10. Here's my result
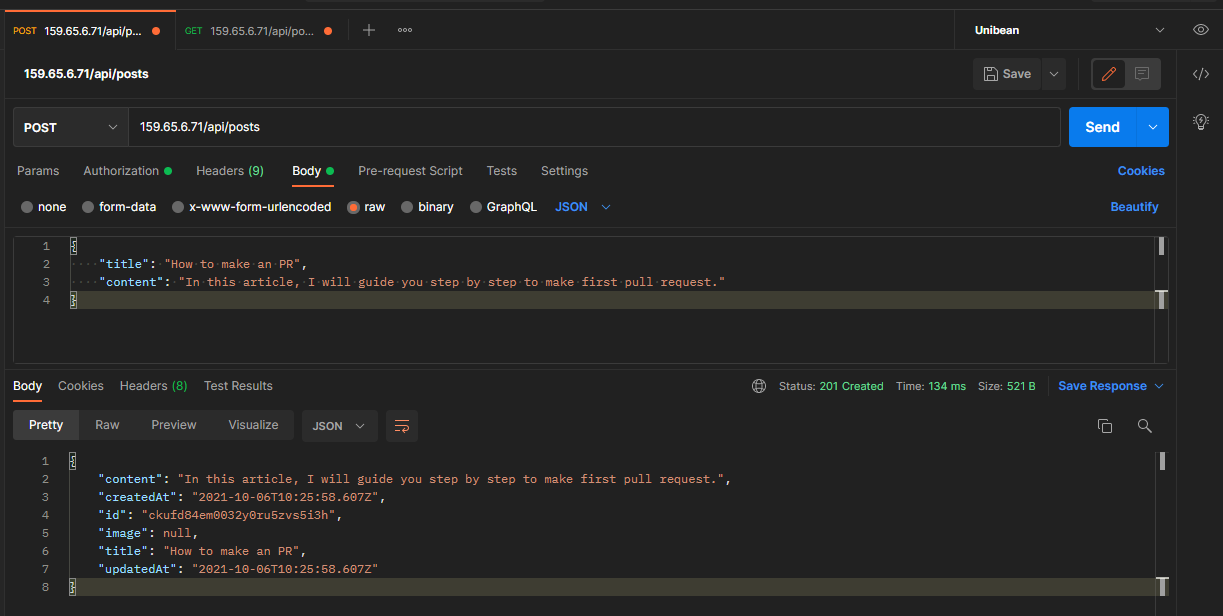
- Create a post

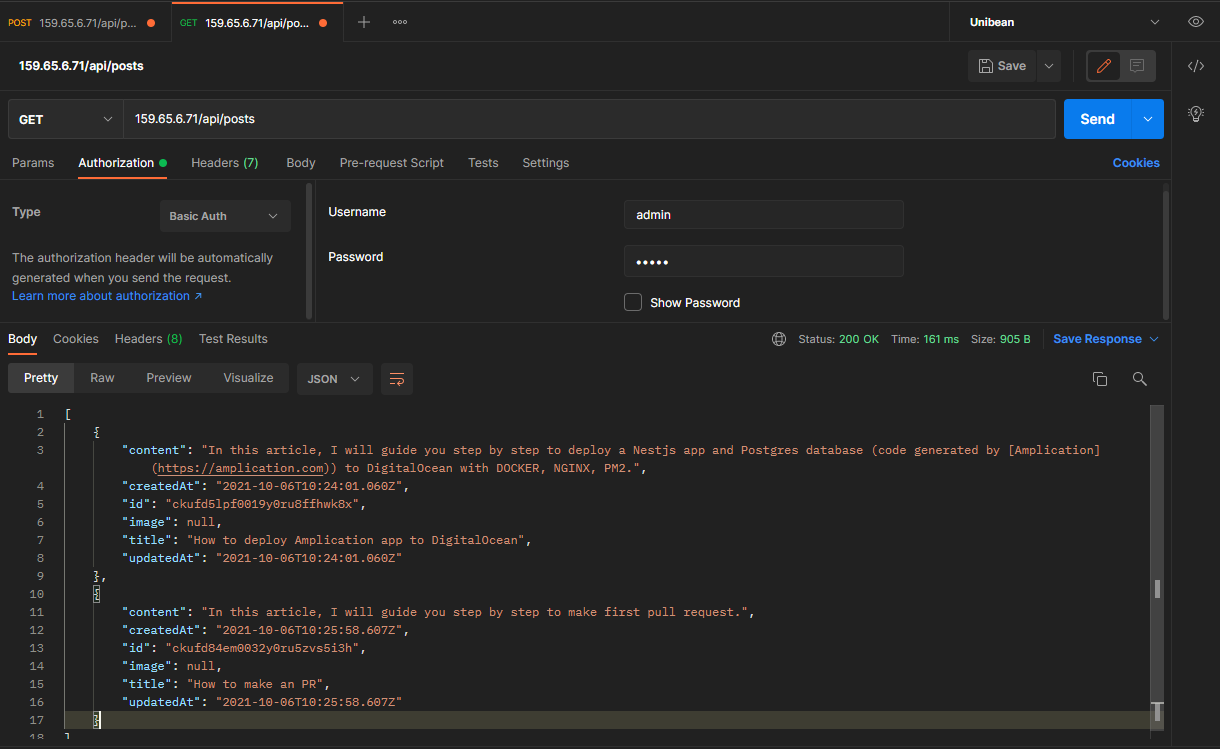
- Get all posts

- Blog Client demo for api: https://amplication-client-demo.vercel.app/
References:
These are the sources that I have consulted:
https://docs.amplication.com/docs/ https://pm2.keymetrics.io/docs/usage/process-management/ https://www.digitalocean.com/community/tutorials/how-to-install-and-use-docker-on-ubuntu-18-04 https://www.digitalocean.com/community/tutorials/how-to-install-docker-compose-on-ubuntu-18-04 https://medium.com/swlh/deploy-nest-js-app-with-postgres-in-vps-e1ce4abd2cad https://gist.github.com/bradtraversy/cd90d1ed3c462fe3bddd11bf8953a896