Introduction
Navigation Component are in simple terms, components required to perform navigations and Navigation refers to the interactions that allow users to navigate across various areas within the app. Android Jetpack's Navigation component helps you implement navigation, from simple button clicks to more complex patterns, such as app bars and the navigation drawer. The Navigation component also ensures a consistent and predictable user experience by adhering to an established set of principles such as Fixed start destination, Representing Navigation state as a stack of destinations, making sure Up and Back are identical within your app's task etc.
To integrate the Navigation Component lets start by adding the libraries.
Adding Libraries
build.gradle
dependencies { def nav_version = "2.3.3" // Java language implementation implementation "androidx.navigation:navigation-fragment:$nav_version" implementation "androidx.navigation:navigation-ui:$nav_version" // Kotlin implementation "androidx.navigation:navigation-fragment-ktx:$nav_version" implementation "androidx.navigation:navigation-ui-ktx:$nav_version" // Feature module Support implementation "androidx.navigation:navigation-dynamic-features-fragment:$nav_version" // Testing Navigation androidTestImplementation "androidx.navigation:navigation-testing:$nav_version" // Jetpack Compose Integration implementation "androidx.navigation:navigation-compose:1.0.0-alpha08"
}
Next we need to create a navigation graph. What is a navigation graph you might ask, well the navigation graph is a representation of the app's navigation paths. It is a resource file containing all the app's destination and actions. In a simplier term, it is the graphical design outlaying how users can navigate your app. You will get a clearer understanding once we create few screens and integrate the navigation components linking them together. Two important aspect to note when using navigation graph are:
- Destinations: These are the contents screens in the app.
- Actions: These are the connection logics between the destinations. They represent the actual paths the user can take.
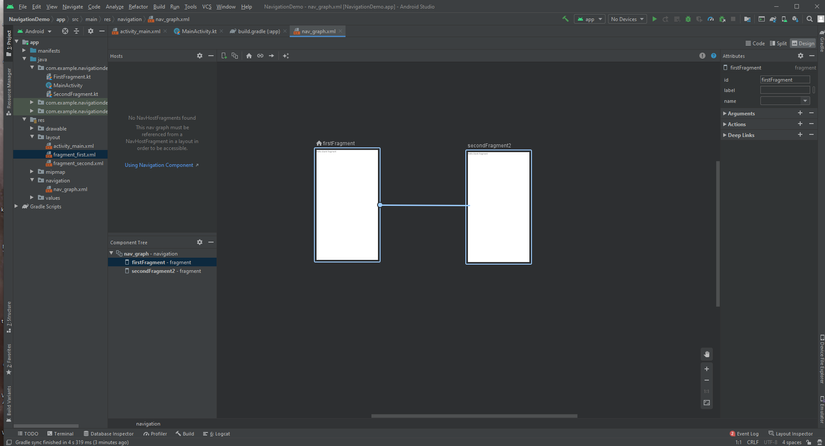
How to add Navigation graph to a project
Clicking on the Code view shows you the text view where we have the navigation element tag and nothing else since we havent added or linked any screen. Destinations and Actions will reflects in the graph as they are added and will be shown as child elements.
<?xml version="1.0" encoding="utf-8"?>
<navigation xmlns:android="http://schemas.android.com/apk/res/android" xmlns:app="http://schemas.android.com/apk/res-auto" android:id="@+id/nav_graph"> </navigation>
How to add Navigation Host to Activity
The Navigation host acts as the core foundation, it is the container where your destinations are swapped in/out as app navigation occurs in the app. According to the documentation, a navigation host must derive from NavHost. The Navigation component's default NavHost implementation, NavHostFragment, handles swapping fragment destinations. Now we will add a container and specify the navigation graph in the main activity layout.
activity_main.xml
<?xml version="1.0" encoding="utf-8"?>
<androidx.constraintlayout.widget.ConstraintLayout xmlns:android="http://schemas.android.com/apk/res/android" xmlns:app="http://schemas.android.com/apk/res-auto" xmlns:tools="http://schemas.android.com/tools" android:layout_width="match_parent" android:layout_height="match_parent" tools:context=".MainActivity"> <androidx.fragment.app.FragmentContainerView android:id="@+id/nav_host_fragment" android:name="androidx.navigation.fragment.NavHostFragment" android:layout_width="0dp" android:layout_height="0dp" app:layout_constraintLeft_toLeftOf="parent" app:layout_constraintRight_toRightOf="parent" app:layout_constraintTop_toTopOf="parent" app:layout_constraintBottom_toBottomOf="parent" app:defaultNavHost="true" app:navGraph="@navigation/nav_graph" /> </androidx.constraintlayout.widget.ConstraintLayout>
By adding the app:navGraph="@navigation/nav_graph" we have associated the NavHostFragment with the nav graph nav_graph. We are also able to detect and intercepts the system's back button by using app:defaultNavHost="true" so the NavHostFragment will detect this.
Adding a destination to navigation graph
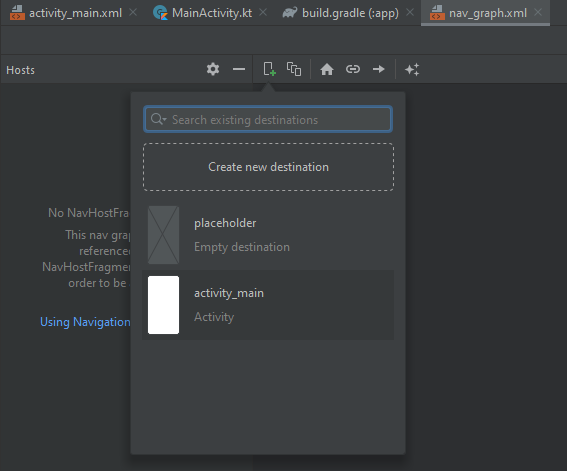
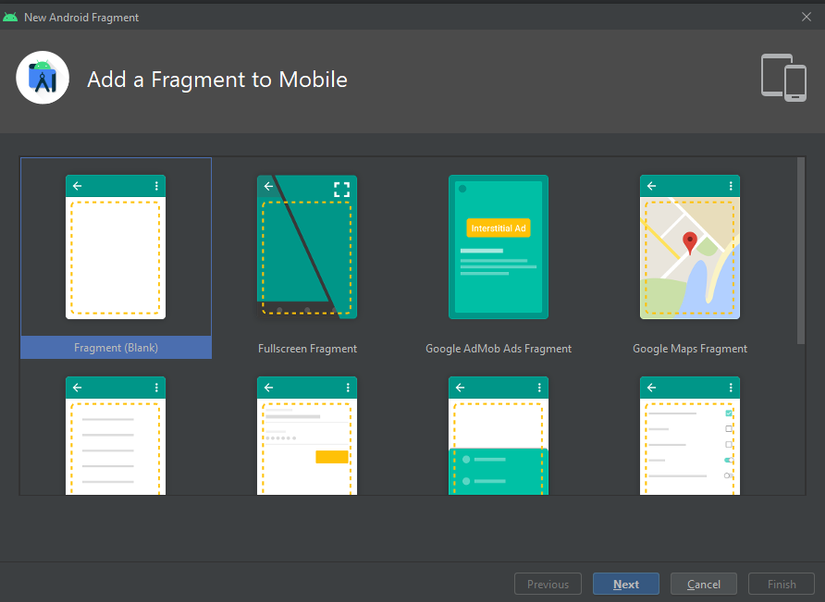
To add a new destination simply click on the New Destination button and create a blank fragment as shown in the pop ups below.

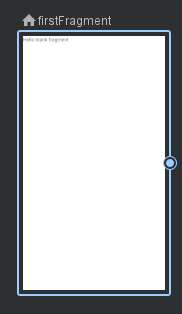
I am calling this destination FirstFragment. You will notice that the destination has been added to the graph in nav_graph (You can always change to Design view to see the layout design). Also, in the text view you will also notice that the fragment has been added along with id, name, label and layout attributes.
<fragment android:id="@+id/firstFragment" android:name="com.example.navigationdemo.FirstFragment" android:label="fragment_first" tools:layout="@layout/fragment_first">
Next we should tell the app where to start whenever it is launched by designating a screen as the start destination.
Designating a screen as the start destination
To set the firstFragment as the start destination you can change to Design view in nav_graph then in the component tree simply right click on the firstFragment and then select Set as Start Destination. Another way to do this is to first click on the firstFragment then select the home icon at the top. Now your firstFragment should have the icon attached to it specifying that it is now your start destination.
Now that we understands destinations and how to use it, lets dive into actions. As previously stated, actions acts as the connection between destinations. You can identify actions by the arrows pointing from one destination to another in the graph. Actions are however not limited to just 2 destinations no. They can also navigate to any specific destination by creating them as global actions. Specifying an action alone isnt suffice in navigating through the app, we have to write some logic behind as well but more on that later. Now we will create one more destination and connect them.
Using action to connect 2 destination
Add a new destination and call this fragment SecondFragment. Now that we have 2 fragments in the graph click on the FirstFragment and a circle appears in the center area. Drag this circle to the SecondFragment.
Change to Text view to observe the newly added action tag. It includes the id and destination attributes which specify the destination.
<fragment android:id="@+id/firstFragment" android:name="com.example.navigationdemo.FirstFragment" android:label="fragment_first" tools:layout="@layout/fragment_first"> <action android:id="@+id/action_firstFragment_to_secondFragment" app:destination="@id/secondFragment" /> </fragment>
Now lets dive further into navigation components using the NavController.
NavController
To navigate to a destination we use NavController. This can be found by using the findNavController() methods which is either called by an Activity, Fragment or simply a View.
- Fragment.findNavController()
- Activity.findNavController(viewId: Int)
- View.findNavController()
Before we proceed we will need to add gradle for Safe Args. Safe Args is a plugin that generates builder classes whcich allows us to pass arguments between our destinations safely.
In the top level build.graddle (Not app but the other where we have google(), jcenter()....) add the classpath in dependencies:
dependencies { def nav_version = "2.3.4" classpath "androidx.navigation:navigation-safe-args-gradle-plugin:$nav_version"
}
Next because we are using Kotlin only add this to the app's build.gradle:
apply plugin: "androidx.navigation.safeargs.kotlin"
Sync and rebuid your project and safe arg will auto generates codes containing classes/methods for all the actions we have created.
One thing to note is that because we have created our NavHostFragment using FragmentContainerView we will have to retrieve the NavController directly from the NavHostFragment as doing otherwise like trying to find it by ID will result in a fail.
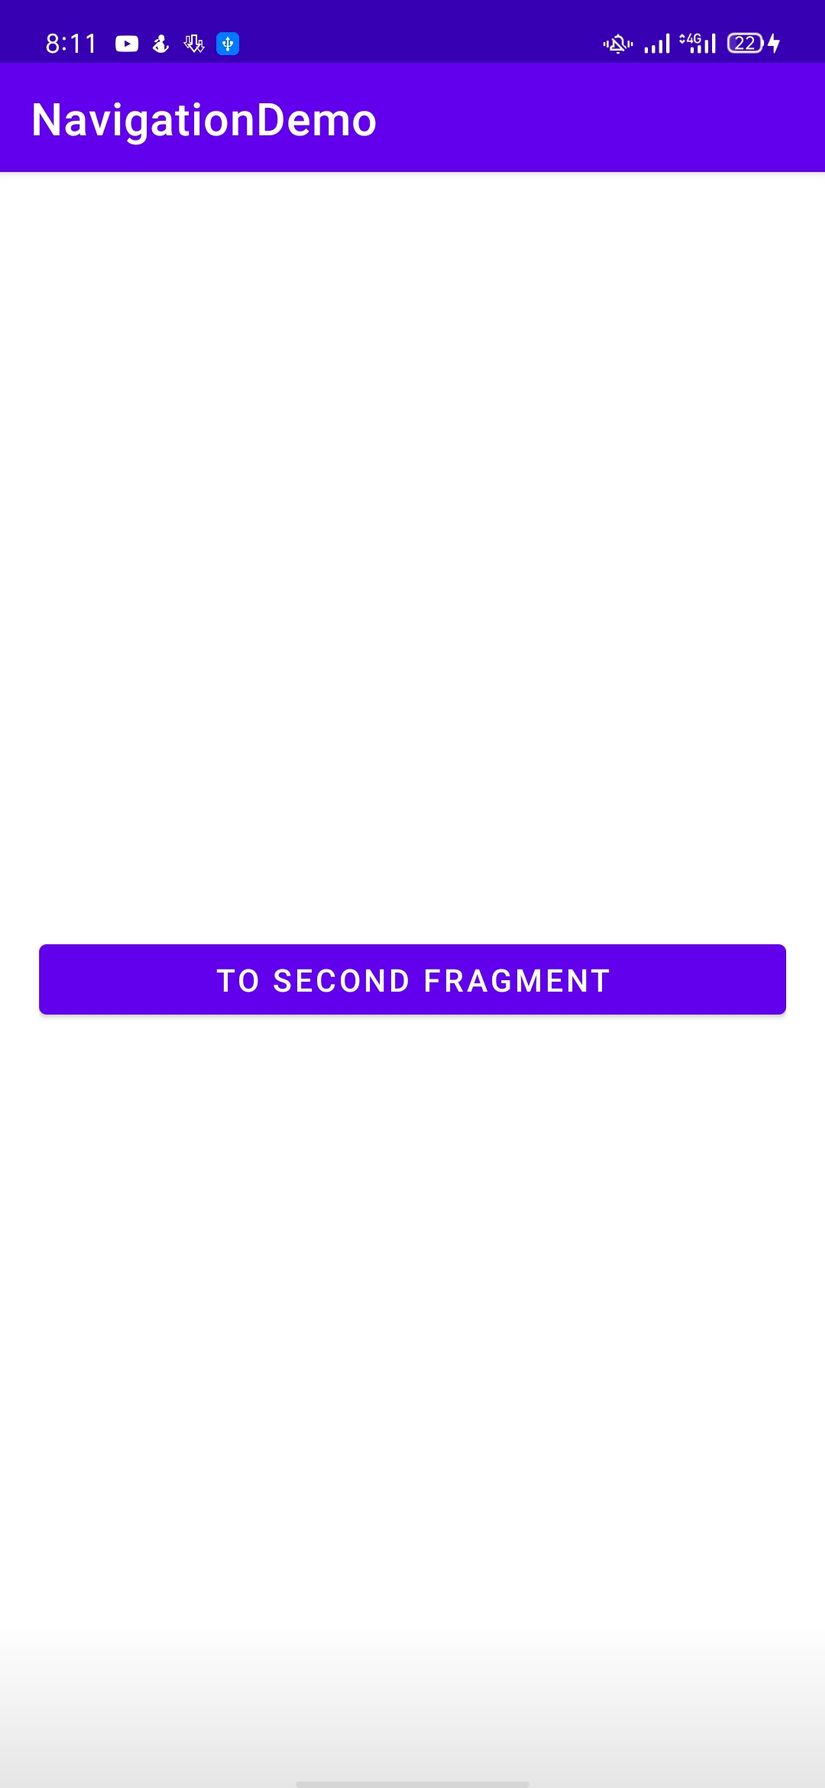
Now lets open the first fragment layout and add a single button.
fragment_first.xml
<?xml version="1.0" encoding="utf-8"?>
<FrameLayout xmlns:android="http://schemas.android.com/apk/res/android" xmlns:tools="http://schemas.android.com/tools" android:layout_width="match_parent" android:layout_height="match_parent" android:padding="20dp" tools:context=".FirstFragment"> <Button android:id="@+id/btnNext" android:layout_width="match_parent" android:layout_height="wrap_content" android:layout_gravity="center" android:text="To Second Fragment" />
</FrameLayout>
Next add a text to second fragment layout.
fragment_second.xml
<?xml version="1.0" encoding="utf-8"?>
<FrameLayout xmlns:android="http://schemas.android.com/apk/res/android" xmlns:tools="http://schemas.android.com/tools" android:layout_width="match_parent" android:layout_height="match_parent" tools:context=".SecondFragment"> <TextView android:layout_width="match_parent" android:layout_height="match_parent" android:gravity="center" android:textSize="20sp" android:text="Welcome to Second Fragment" />
</FrameLayout>
Now that the layout is ready we can add an action to the button click from first fragment and navigate to the second. Open FirstFragment class.
FirstFragment
package com.example.navigationdemo import android.os.Bundle
import androidx.fragment.app.Fragment
import android.view.LayoutInflater
import android.view.View
import android.view.ViewGroup
import android.widget.Button
import androidx.navigation.findNavController class FirstFragment : Fragment() { override fun onCreateView( inflater: LayoutInflater, container: ViewGroup?, savedInstanceState: Bundle? ): View? { val root = inflater.inflate(R.layout.fragment_first, container, false) val fragmentBtnNext : Button = root.findViewById(R.id.btnNext) fragmentBtnNext.setOnClickListener { button -> val action = FirstFragmentDirections.actionFirstFragmentToSecondFragment() button.findNavController().navigate(action) } return root }
}
Remember, safe guard is responsible for generating the class FirstFragmentDirections that has a single method actionFirstFragmentToSecondFragment which returns a NavDirection object.
Qucik Note
Because this is a project built using kotlin, android automatically should add android.useAndroidX=true in the gradle.properties file. If it is not present you have to add it.
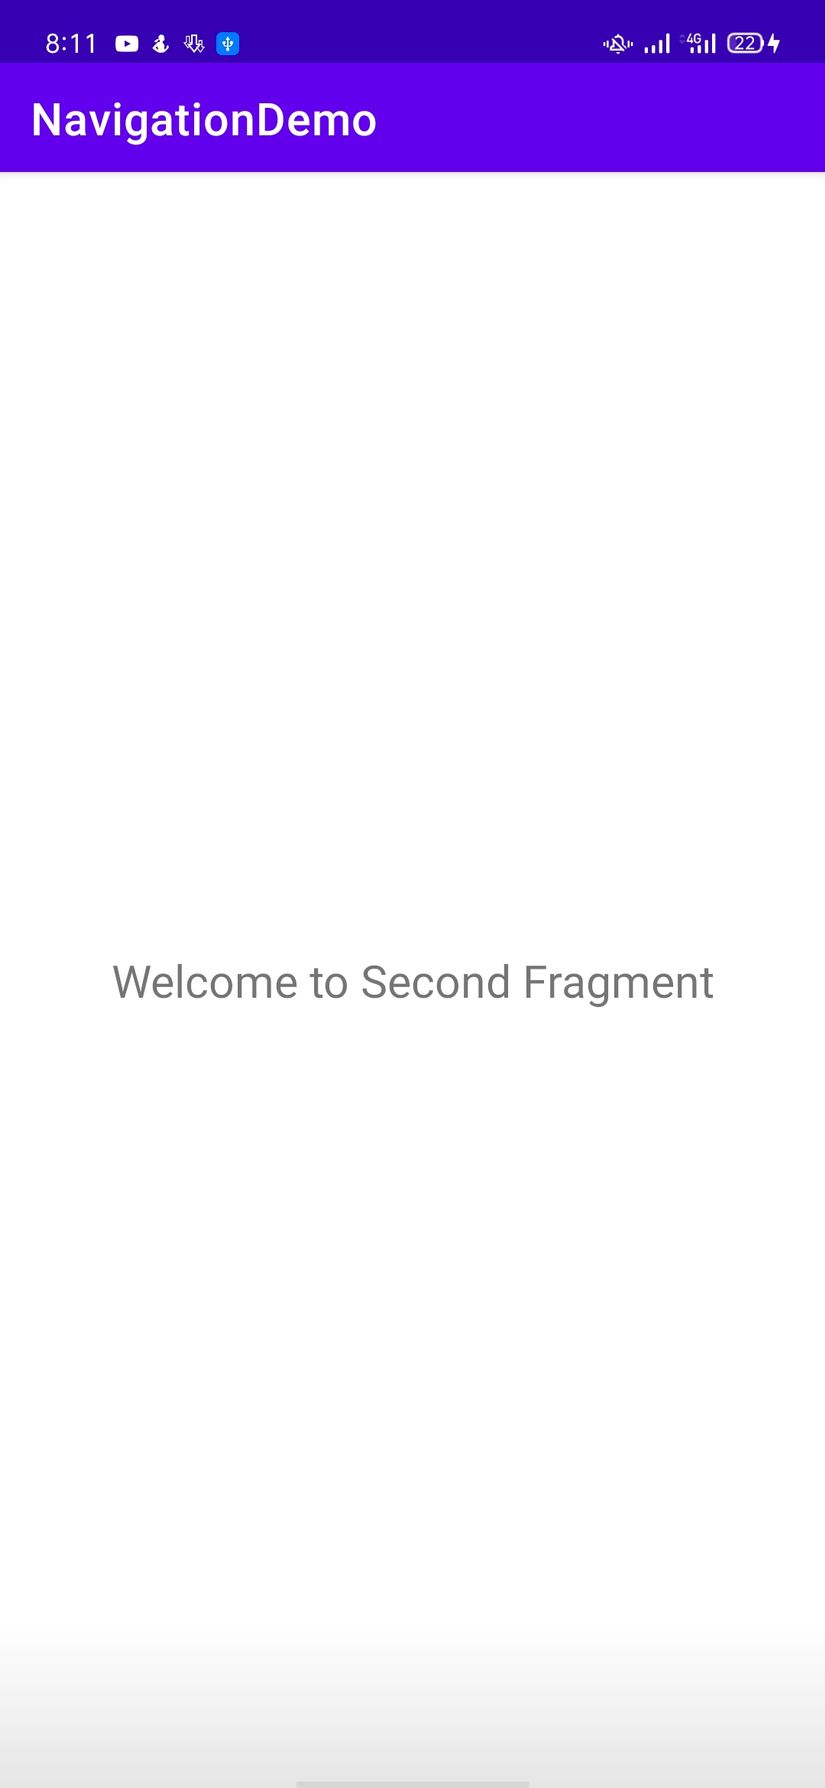
Run the app.
Second Fragment