Chào các bạn đã trở lại với series làm ứng dụng học toán đơn giản với React native của mình  Đây là link app mà các bạn đang theo dõi :3 https://play.google.com/store/apps/details?id=com.bloodycotech001, vì 1 số lý do nên mình vẫn chưa update app kịp những gì có trong bài viết. Nếu các bạn có thời gian, có thể cho mình xin 1 đánh giá ( bao nhiêu sao cũng được) và 1 comment chân thành từ các bạn về app hoặc góp ý để app phát triển hơn. Mình sẽ lắng nghe tất cả các góp ý và đánh giá của tất cả các bạn để dần hoàn thiện series hướng dẫn này cũng như phiên bản app trên store
Xin chào mọi người, mình đã trở lại rồi đây. Trước tiên mình xin phép PR 1 chút cho cái app nhỏ nhỏ của mình :3, đây là link download, nếu ai muốn trải nghiệm trước khi làm thì download và ủng hộ mình nhé https://play.google.com/store/apps/details?id=com.bloodycotech001 . Vì có 1 số lý do nên mình vẫn chưa kịp update app cho kịp những gì có trong bài viết, nên hy vọng các bạn có thể thông cảm cho mình. Mình sẽ lắng nghe tất cả các góp ý và đánh giá của tất cả các bạn để dần hoàn thiện series hướng dẫn này cũng như app trên GG store
Mọi người có thể theo dõi các phần trước của mình tại đây
Phần 1 [https://viblo.asia/p/lam-ung-dung-hoc-toan-don-gian-voi-react-native-63vKjzNVK2R]
Phần 2 [https://viblo.asia/p/lam-ung-dung-hoc-toan-don-gian-voi-react-native-phan-2-RQqKLQv4Z7z]
Phần 3 [https://viblo.asia/p/lam-ung-dung-hoc-toan-don-gian-voi-react-native-phan-3-Eb85oLMkK2G]
Phần 4 [https://viblo.asia/p/lam-ung-dung-hoc-toan-don-gian-voi-react-native-phan-4-djeZ1ynGZWz]
Phần 5 [https://viblo.asia/p/lam-ung-dung-hoc-toan-don-gian-voi-react-native-phan-5-E375z7NjKGW]
Phần 6 [https://viblo.asia/p/lam-ung-dung-hoc-toan-don-gian-voi-react-native-phan-6-YWOZro2NlQ0]
PR nhẹ nhàng vầy thôi, giờ vào việc nhé :3
1) Animation Navigation
Nếu các bạn chú ý thì khi chúng ta sử dụng nút để điều hướng sang các trang khác, animation khi chuyển trang chỉ đơn giản là hiện ra 1 cách chóng vánh, gây cảm giác hời hợt và khó chệu cho người dùng :v, vậy nên giờ chúng ta sẽ update nó nhé.
Chúng ta sẽ tạo hiệu ứng lướt ngang mỗi khi chuyển trang. Để làm được như vậy, chúng cần config lại cho Navigator ở các stack
import { CardStyleInterpolators, createStackNavigator, TransitionSpecs,
} from '@react-navigation/stack'; // chúng ta khai báo thêm config animation ở đây
const config = { ...TransitionSpecs.TransitionIOSSpec, animation: 'spring', config: { stiffness: 1000, damping: 500, mass: 3, overshootClamping: true, restDisplacementThreshold: 0.01, restSpeedThreshold: 0.01, }, };
Rồi config đấy vào screenOptions của Stack.Navigatot
<Stack.Navigator initialRouteName={StackRoute.Main.Splash} screenOptions={{ cardStyleInterpolator: CardStyleInterpolators.forHorizontalIOS, gestureDirection: 'horizontal', transitionSpec: { open: config, close: config, }, }}>
bạn cũng có thể tạo animation riêng cho open và tạo 1 cái khác cho close
const configOpen = { ...TransitionSpecs.TransitionIOSSpec, animation: 'timing', config: { duration: 1000, }, }; const configClose = { ...TransitionSpecs.TransitionIOSSpec, animation: 'spring', config: { stiffness: 1000, damping: 500, mass: 3, overshootClamping: true, restDisplacementThreshold: 0.01, restSpeedThreshold: 0.01, }, };
2) Tạo Splash Screen (Android)
Nếu bạn nào đã từng tải app của mình về dùng thử chắc sẽ thấy được cái splash screen của app mình rồi, nhưng màn hình đấy là mình đang dùng react native navigation để làm. Còn lần này, mình sẽ dùng android để làm cái splash screen ấy, bắt đầu nhé.
Trước tiên bạn phải có 1 file launch_sreen.png đã, kích thước mình để là 512 x 512.
- Vào folder
android/app/src/main/res, tạo folderdrawable, nhét cái ảnhlaunch_sreen.pngvào đó - Cũng trong drawable, ta tạo thêm file
splash_background.xml:
<?xml version="1.0" encoding="utf-8"?>
<layer-list xmlns:android="http://schemas.android.com/apk/res/android"> <item> <bitmap android:gravity="center" android:src="@drawable/launch_screen" /> </item>
</layer-list>
- Tiếp tục vào
android/app/src/main/res/values/styles.xml, thêm vào trong thẻ<resources> </resources>
<!-- Splash Screen theme. --> <style name="SplashTheme" parent="Theme.AppCompat.NoActionBar"> <item name="android:windowBackground">@drawable/splash_background</item> </style>
- Vào folder sau
android/app/src/main/java/com/<project package name của bạn>, rồi tạo fileSplashActivity.javavới nội dung sau
package com.<project package name của bạn>;
import android.content.Intent;
import android.os.Bundle; import androidx.appcompat.app.AppCompatActivity; public class SplashActivity extends AppCompatActivity { @Override protected void onCreate(Bundle savedInstanceState) { super.onCreate(savedInstanceState); // Start home activity startActivity(new Intent(SplashActivity.this, MainActivity.class)); // close splash activity finish(); }
}
- Vào file
android/app/src/main/AndroidManifest.xml, chỉnh sửa như sau, thêm vào các dòng sau trong cặp thẻ<application> </application>
 <activity android:name=".SplashActivity" android:configChanges="keyboard|keyboardHidden|orientation|screenSize" android:theme="@style/SplashTheme" android:windowSoftInputMode="adjustResize"> <intent-filter> <action android:name="android.intent.action.MAIN" /> <category android:name="android.intent.category.LAUNCHER" /> </intent-filter>
</activity> <activity android:name="com.facebook.react.devsupport.DevSettingsActivity" />
===> Vầy là xong, chúng ta đã setup thành công splash screen (hura)
Giờ mỗi khi bạn bật app lên, sẽ thấy màn hình splash screen hiện lên đầu tiên rồi sau đó mới vào app.
3) Tạo Tab Navigation Bottom
Giờ app cũng có được kha khá chức năng, nên mình quyết định sẽ chia ra thêm 1 stack cho setting và 1 stack cho profile (chưa biết để cái gì nhưng tương lai chắc chắn sẽ cần)
Đầu tiên chúng ta cần clear về việc chia nhánh cho các route tí đã.
Mình muốn ngay khi vào trang home, sẽ có tab bottom ở dưới theo thứ tự lần lượt là setting > home > profile, khi chuyển sang setting hay profile tab bottom vẫn hiện. Nhưng khi bấm vào để chơi battle hay practice sẽ không hiện tab bottom nữa.
Để làm tab bottom 1 cách dễ dàng và tiện lời, mình đã dùng @react-navigation/bottom-tabs, chúng ta cùng tạo ra component BottomStack như sau:
import React from 'react'; import { SetLanguageScreen } from 'screen/settings/index';
import ProfileScreen from 'screen/profile/index'; // màn hình này các bạn cứ tạo 1 component trống để bỏ vào cho có trước đã nhé
import { StackRoute } from 'constants/route'; import TabBottom from 'component/TabBottom';
import WelcomeScreen from 'screen/welcome';
import { createBottomTabNavigator } from '@react-navigation/bottom-tabs'; const Tab = createBottomTabNavigator(); const BottomStack = () => { return ( <Tab.Navigator initialRouteName={StackRoute.Main.Welcome} > <Tab.Screen name={StackRoute.BottomTabs.Setting} component={SetLanguageScreen} /> <Tab.Screen name={StackRoute.Main.Welcome} component={WelcomeScreen} /> <Tab.Screen name={StackRoute.BottomTabs.Profile} component={ProfileScreen} /> </Tab.Navigator> );
}; export default BottomStack;
Chúng ta sẽ bỏ BottomStack vào trong DefaultStack
// DefaultStack.js
return ( <Stack.Navigator initialRouteName={StackRoute.Stack.Bottom} screenOptions={{ headerShown: false, cardStyleInterpolator: CardStyleInterpolators.forHorizontalIOS, gestureDirection: 'horizontal', transitionSpec: { open: config, close: config, }, }}> <Stack.Screen name={StackRoute.Stack.Bottom} component={BottomStack} /> <Stack.Screen name={StackRoute.Main.SelectMode} component={SelectMode} /> <Stack.Screen name={StackRoute.Main.Practice} component={Practice} /> <Stack.Screen name={StackRoute.Main.Failed} component={Failed} /> <Stack.Screen name={StackRoute.Main.Battle} component={Battle} /> <Stack.Screen name={StackRoute.Main.Success} component={Success} /> <Stack.Screen name={StackRoute.Main.ChooseTime} component={ChooseTime} /> </Stack.Navigator> );
Có thể có 1 số bạn sẽ thắc mắc sao mình lại bỏ BottomStack vào DefaultStack, thì thật ra mình muốn khi vào Practice hay Battle thì nó sẽ không hiện Bottom Tab ra, nên để Bottom Stack như thế này là hợp lý.
Giờ chúng ta sẽ custom tab lại cho đẹp tí, ta sẽ tạo 1 component TabBottom trước
import React from 'react';
import { View, Text, Image, TouchableOpacity, StyleSheet } from 'react-native'; import { DefaultIconWhite, ProfileIconWhite, SettingIconWhite,
} from 'assets/icons/index'; // mấy cái icon này các bạn tự kiếm nhé :D, có thể lên icons8.com để tìm
import { colors, fonts, spaces } from 'constants/theme';
import { StackRoute } from 'constants/route'; const TabBottom = ({ state, descriptors, navigation }) => { const focusedOptions = descriptors[state.routes[state.index].key].options; if (focusedOptions.tabBarVisible === false) { return null; } const renderIcon = type => { switch (type) { case StackRoute.BottomTabs.Setting: return <Image source={SettingIconWhite} style={styles.iconTab} />; case StackRoute.BottomTabs.Default: return <Image source={DefaultIconWhite} style={styles.iconTab} />; case StackRoute.BottomTabs.Profile: return <Image source={ProfileIconWhite} style={styles.iconTab} />; default: return <Image source={DefaultIconWhite} style={styles.iconTab} />; } }; return ( <View style={styles.container}> {state.routes.map((route, index) => { const { options } = descriptors[route.key]; const label = options.tabBarLabel !== undefined ? options.tabBarLabel : options.title !== undefined ? options.title : route.name; const isFocused = state.index === index; const onPress = () => { const event = navigation.emit({ type: 'tabPress', target: route.key, canPreventDefault: true, }); if (!isFocused && !event.defaultPrevented) { navigation.navigate(route.name); } }; const onLongPress = () => { navigation.emit({ type: 'tabLongPress', target: route.key, }); }; return ( <TouchableOpacity key={`${label}`} accessibilityRole="button" accessibilityState={isFocused ? { selected: true } : {}} accessibilityLabel={options.tabBarAccessibilityLabel} testID={options.tabBarTestID} onPress={onPress} onLongPress={onLongPress} style={styles.tabItem}> <View style={styles.itemContainer}> {renderIcon(label)} <Text style={styles.label}>{label}</Text> </View> </TouchableOpacity> ); })} </View> );
}; export default TabBottom; const styles = StyleSheet.create({ container: { flexDirection: 'row', backgroundColor: colors.bg_primary, }, tabItem: { flex: 1, justifyContent: 'center', alignItems: 'center', }, itemContainer: { flexDirection: 'row', alignItems: 'center', paddingVertical: spaces.space1, }, label: { color: 'white', fontWeight: 'bold', fontSize: fonts.medium, }, iconTab: { height: spaces.space7, width: spaces.space7, },
});
Làm xong rồi, giờ bỏ nó ở đâu bây giờ ???  giờ chúng ta quay lại BottomStack nhé, chúng ta sẽ dùng nó ở đây này:
<Tab.Navigator initialRouteName={StackRoute.Main.Welcome} tabBar={props => <TabBottom {...props} />} // như vậy là chúng ta đã custom lại tabBottom UI rồi
>
Vầy là chúng ta đã làm xong 1 cái Tab Bottom tạm tạm để xài rồi
4) Chạy thử
Chúng ta cùng nghía lại những gì chúng ta vừa làm được tí nhé
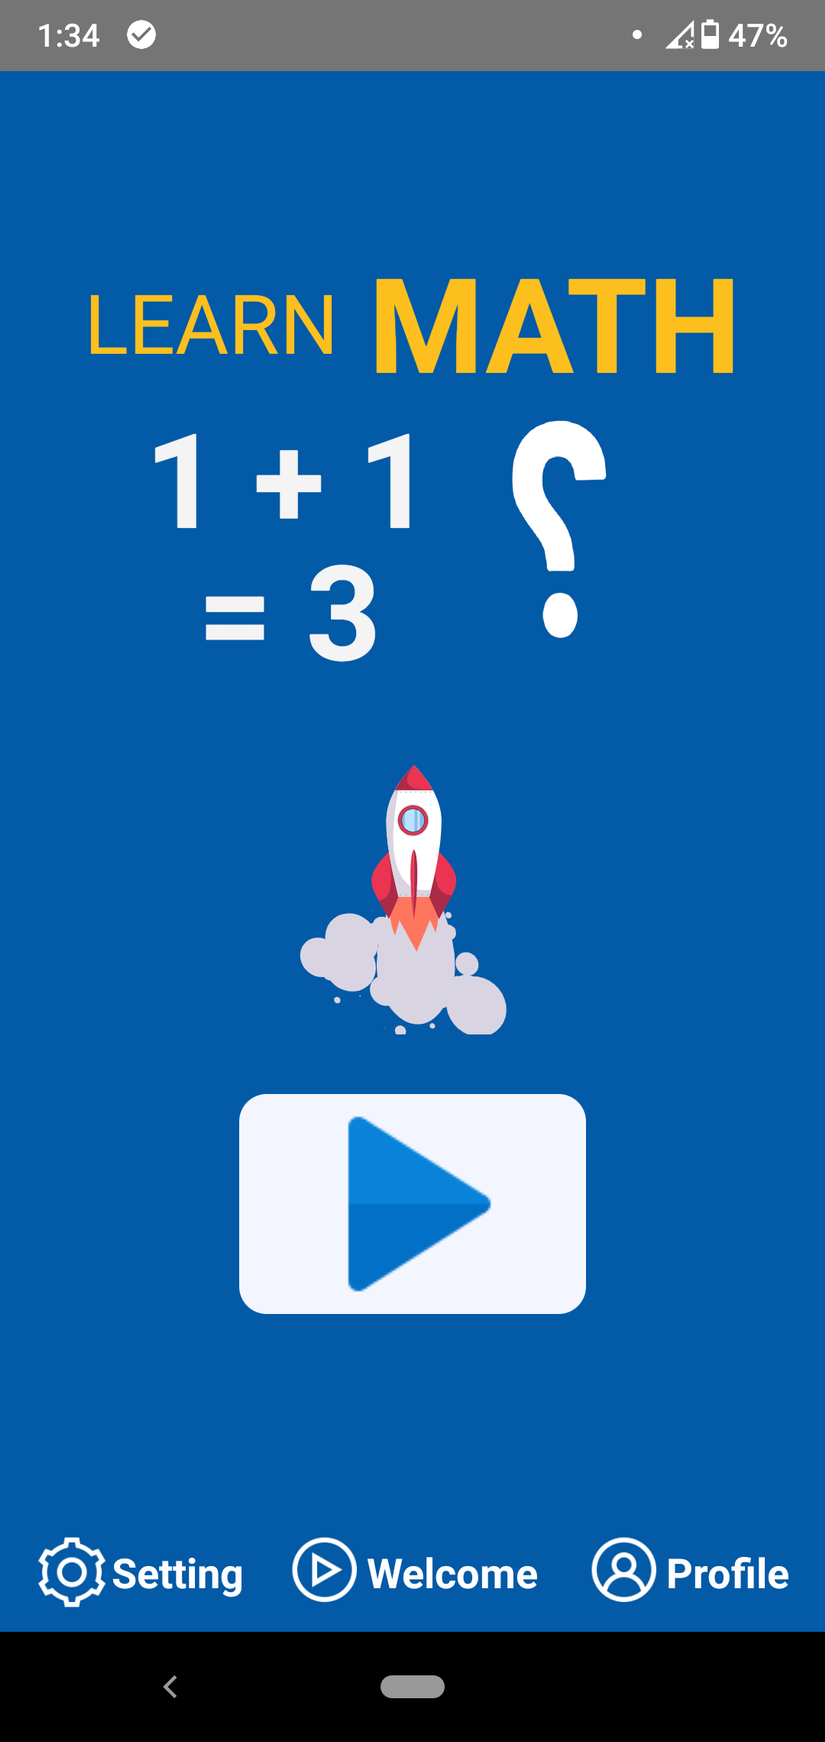
Đăng nhập vào sẽ thấy cái splash screen => tiếp theo là đến màn hình này

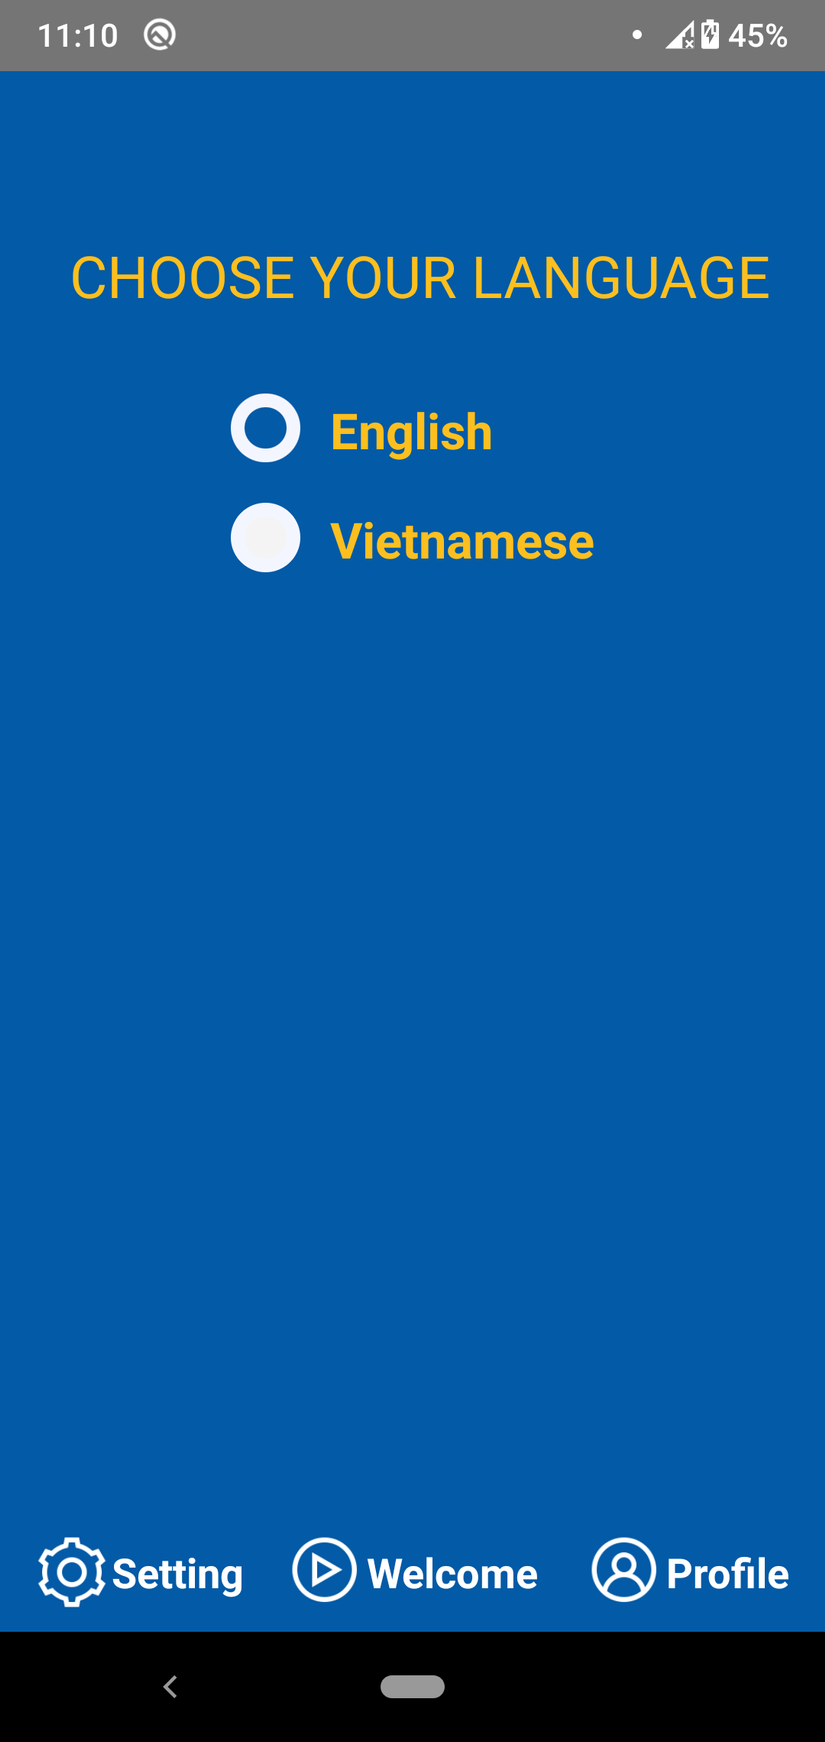
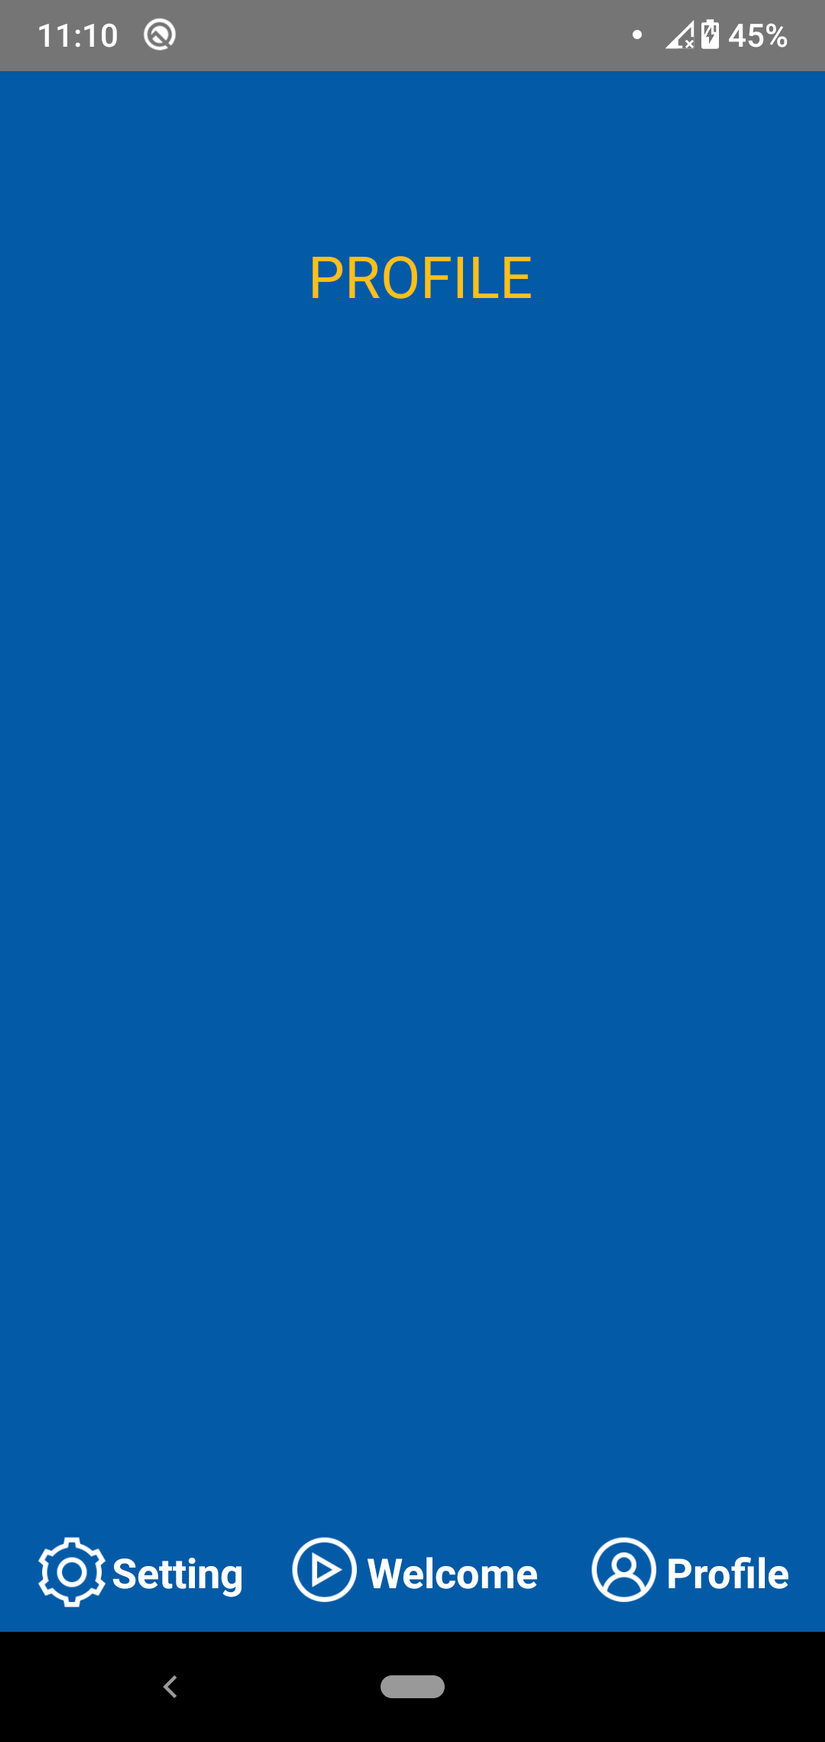
Cùng lướt qua 2 tab Setting và Profile có gì nhé


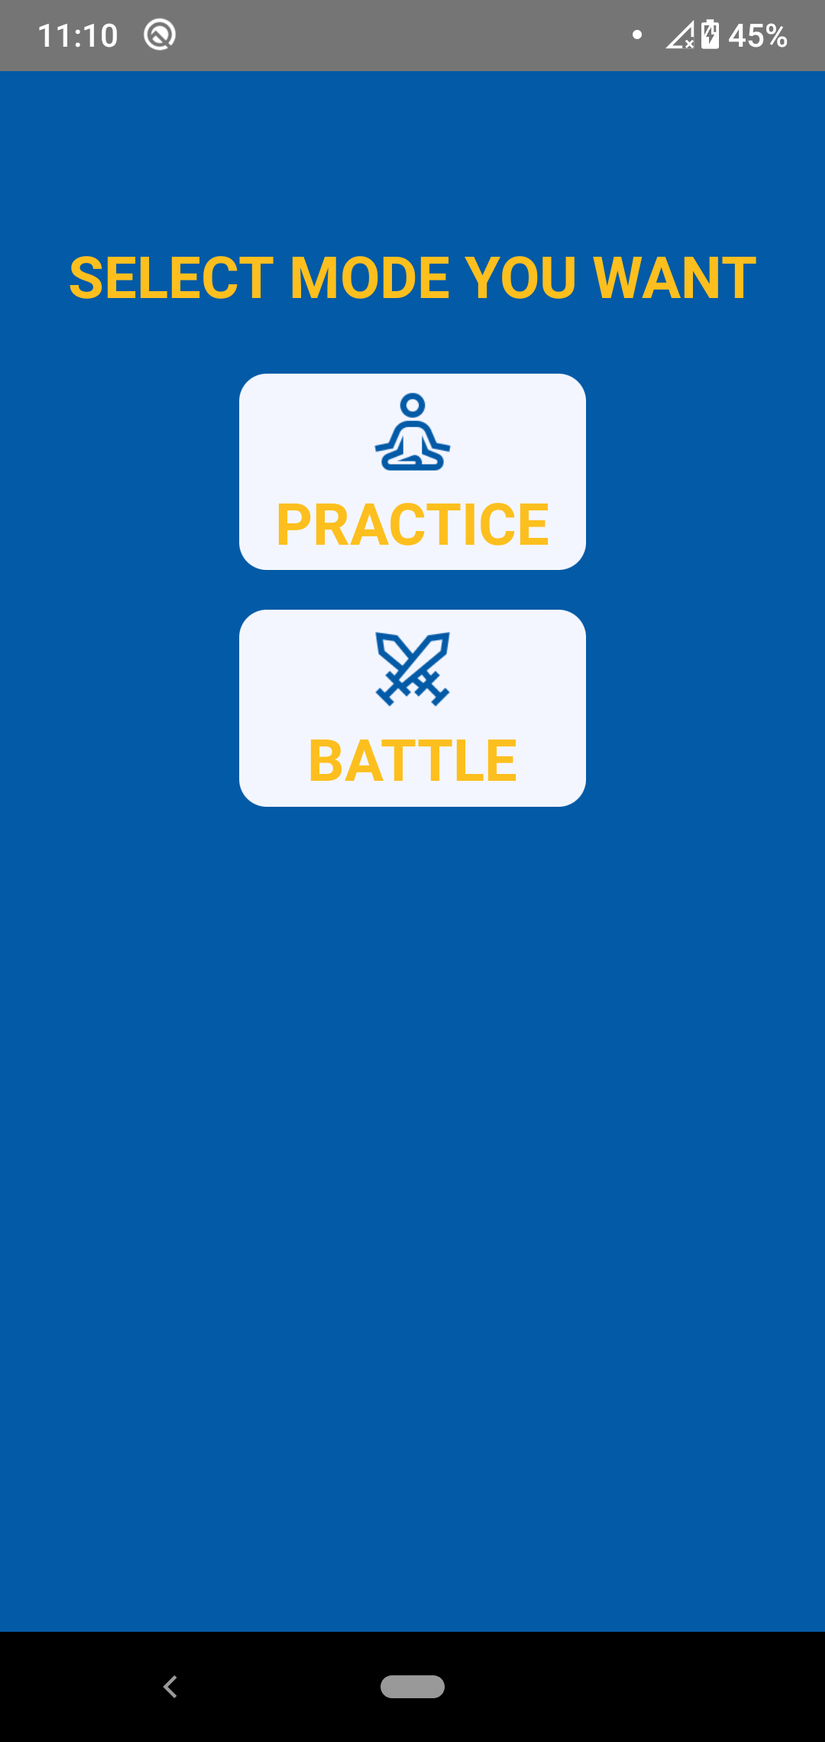
Thôi nghỉ ngơi vào làm 1 "ván" toán học "cao cấp" mức 3s siêu khó nào :v

=> màn này mình dời nó vào đây thay vì để ngoài màn hình home vì vấn đề về UI và UX, mọi người cũng có thể làm như mình
**5) Kết **
Cảm ơn các bạn đã theo dõi hết bài viết của mình. Xin chào và hẹn gặp lại các bạn vào 1 ngày không xa
P/S
Các bạn có thể theo dõi full series của mình tại đây: https://viblo.asia/s/lam-ung-dung-hoc-toan-don-gian-voi-react-native-375z0mxPZGW Mình đã upload app lên Google store, các bạn có thể tải về xem trước, tên app mình có hơi thay đổi 1 tí, mong mọi người vẫn ủng hộ series của mình
Link app : https://play.google.com/store/apps/details?id=com.bloodycotech001
Xin chân thành cảm ơn các bạn!!! 

