Hôm nay mình sẽ hướng dẫn bạn tạo push notification từ việc tạp appID ,tạo certificate tới việc nhận push bằng cách send Firebase console. Các bước để tích hợp firebase push notification :
Tạo APNs certificate trên Apple’s Developer
Enable push trên Firebase Cloud Messaging Console
Thêm Pod firebase
Viết code push notification
Send push từ Firebase Notification trong dashboard.
I. Tạo file APNs certificate .
Note: Step ngắn gọn để tạo APNs certificate. Ban đầu bạn tạo App ID sẽ chứa bundle ID và tick chọn Push Notifications. Sau khi hoàn thành bước tạo App ID bạn vào mục App ID cuộn xuống phần Push Notifications bạn tạo certificate push.
Bây giờ mình sẽ hướng dẫn bạn chi tiết cách tạo nhé ^_^:
Các bước tạo app id:
-
Login account develop apple, sau đó chọn mục Certificates, Identifiers & Profiles
-
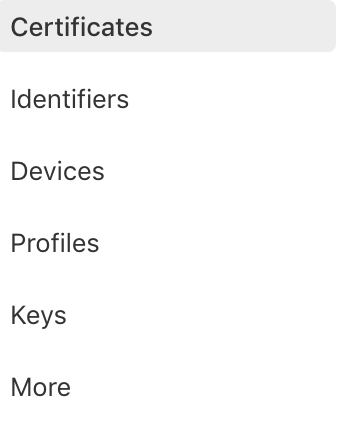
Chọn mục Identifiers và Click (+) để thực hiện đăng ký app ID :
-
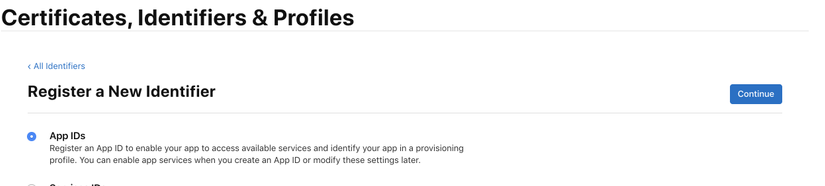
Tick chọn App IDs và ấn nút Continue
-
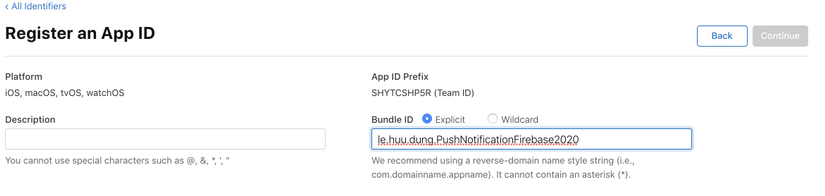
Nhập bundle ID và kéo xuống phần Push Notification để tick chọn và ấn nút Register

Bạn có thể xem bài viết : https://customersupport.doubledutch.me/hc/en-us/articles/229495568-iOS-How-to-Create-a-Push-Notification-Certificate tạo file certificate cho push notification:
2. Enable Push Notification Trong Firebase Cloud Messaging Console
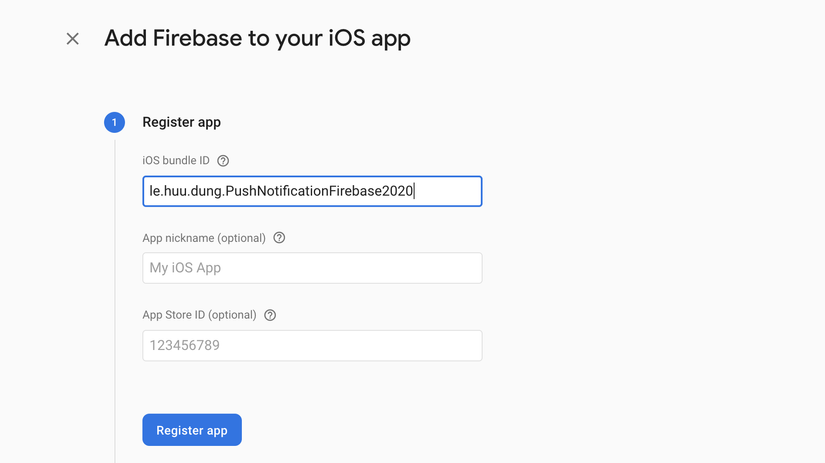
Trên Firebase Console bạn sẽ đăng ký bundle id ở Xcode:
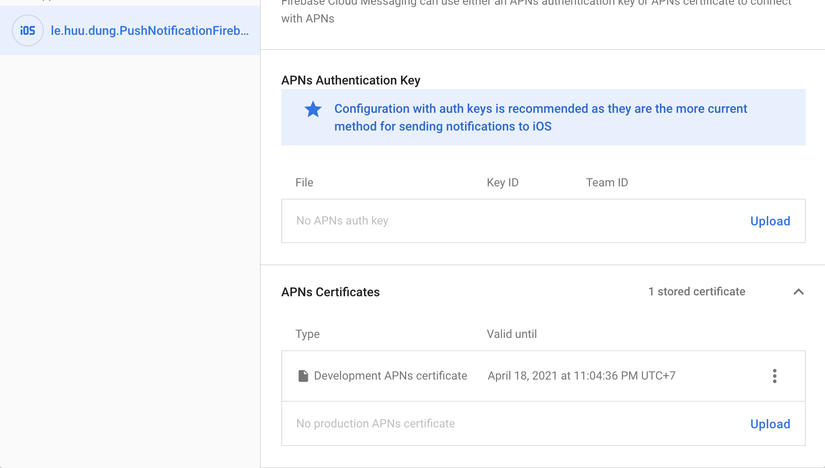
- Trong màn hình quản lý Firebase bạn chọn Project Settings -> chọn tab Cloud Messaging :
- Trong mục : APNs Certificates bạn update file .P12 lên:
Kết quả :
3. Viết code để tạo push notification.
import Firebase
import UIKit
import UserNotifications
import FirebaseFirestore class PushNotificationManager: NSObject, MessagingDelegate, UNUserNotificationCenterDelegate { let userID: String init(userID: String) { self.userID = userID super.init() } func registerForPushNotifications() { if #available(iOS 10.0, *) { // For iOS 10 display notification (sent via APNS) UNUserNotificationCenter.current().delegate = self let authOptions: UNAuthorizationOptions = [.alert, .badge, .sound] UNUserNotificationCenter.current().requestAuthorization( options: authOptions, completionHandler: {_, _ in }) // For iOS 10 data message (sent via FCM) Messaging.messaging().delegate = self } else { let settings: UIUserNotificationSettings = UIUserNotificationSettings(types: [.alert, .badge, .sound], categories: nil) UIApplication.shared.registerUserNotificationSettings(settings) } UIApplication.shared.registerForRemoteNotifications() updateFirestorePushTokenIfNeeded() } func updateFirestorePushTokenIfNeeded() { if let token = Messaging.messaging().fcmToken { let usersRef = Firestore.firestore().collection("users_table").document(userID) usersRef.setData(["fcmToken": token], merge: true) } } func messaging(_ messaging: Messaging, didReceive remoteMessage: MessagingRemoteMessage) { print(remoteMessage.appData) } func messaging(_ messaging: Messaging, didReceiveRegistrationToken fcmToken: String) { updateFirestorePushTokenIfNeeded() } func userNotificationCenter(_ center: UNUserNotificationCenter, didReceive response: UNNotificationResponse, withCompletionHandler completionHandler: @escaping () -> Void) { print(response) }
}
Trong file AppDelegate.swift:
func application(_ application: UIApplication, didFinishLaunchingWithOptions launchOptions: [UIApplication.LaunchOptionsKey: Any]?) -> Bool { let pushManager = PushNotificationManager(userID: "currently_logged_in_user_id") pushManager.registerForPushNotifications() FirebaseApp.configure() return true } 4. Send push notification từ Firebase Notifications dashboard
Trong Firebase Console. Ở menu bên trái chọn Grow -> Cloud Messaging. -> New Notification:
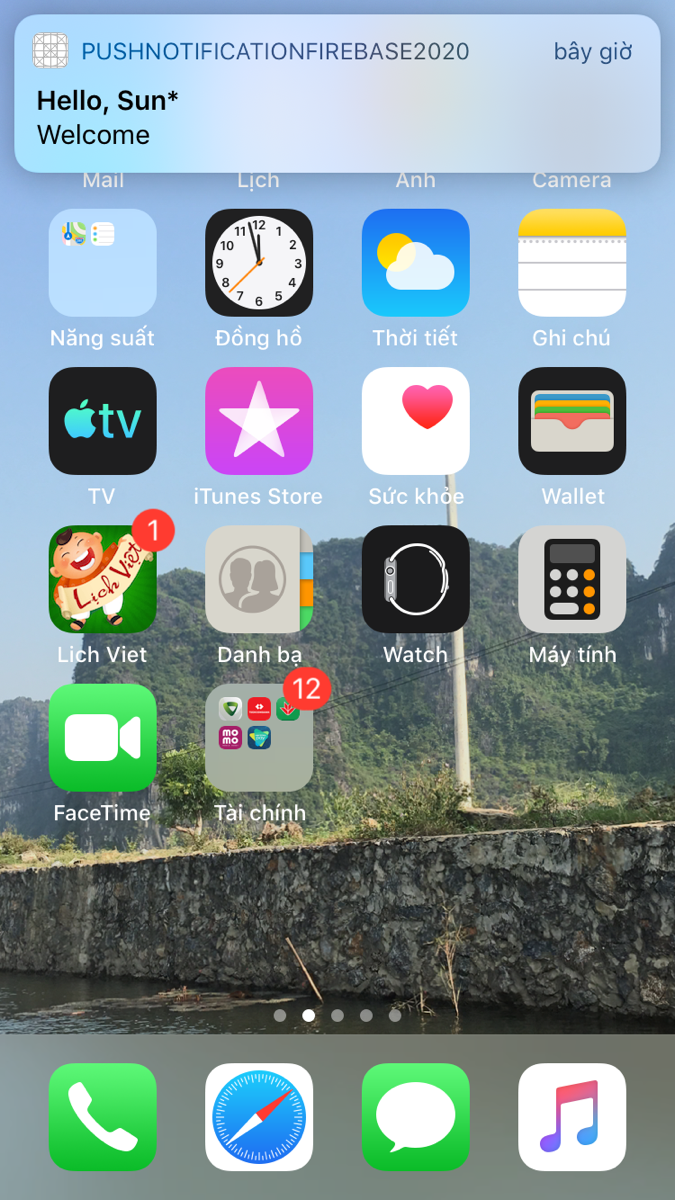
 Sau khi setting push bạn sẽ nhận được push :
Tài liệu tham khảo :
https://www.iosapptemplates.com/blog/ios-development/push-notifications-firebase-swift-5